Change or Disable the Lock Screen Timeout on Windows 10
Windows will automatically go to lock screen after inactive for over a minute. You can use the following methods to disable or extend the timeout.
Make lock screen timeout option in Power Options available
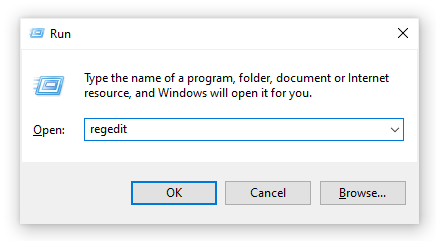
1. Press the Windows + R keys or simply type in “Regedit” in Run and click OK
2. Navigate to the following registry key:
Computer\HKEY_LOCAL_MACHINE\SYSTEM\CurrentControlSet\Control\Power\PowerSettings\7516b95f-f776-4464-8c53-06167f40cc99\8EC4B3A5-6868-48c2-BE75-4F3044BE88A7
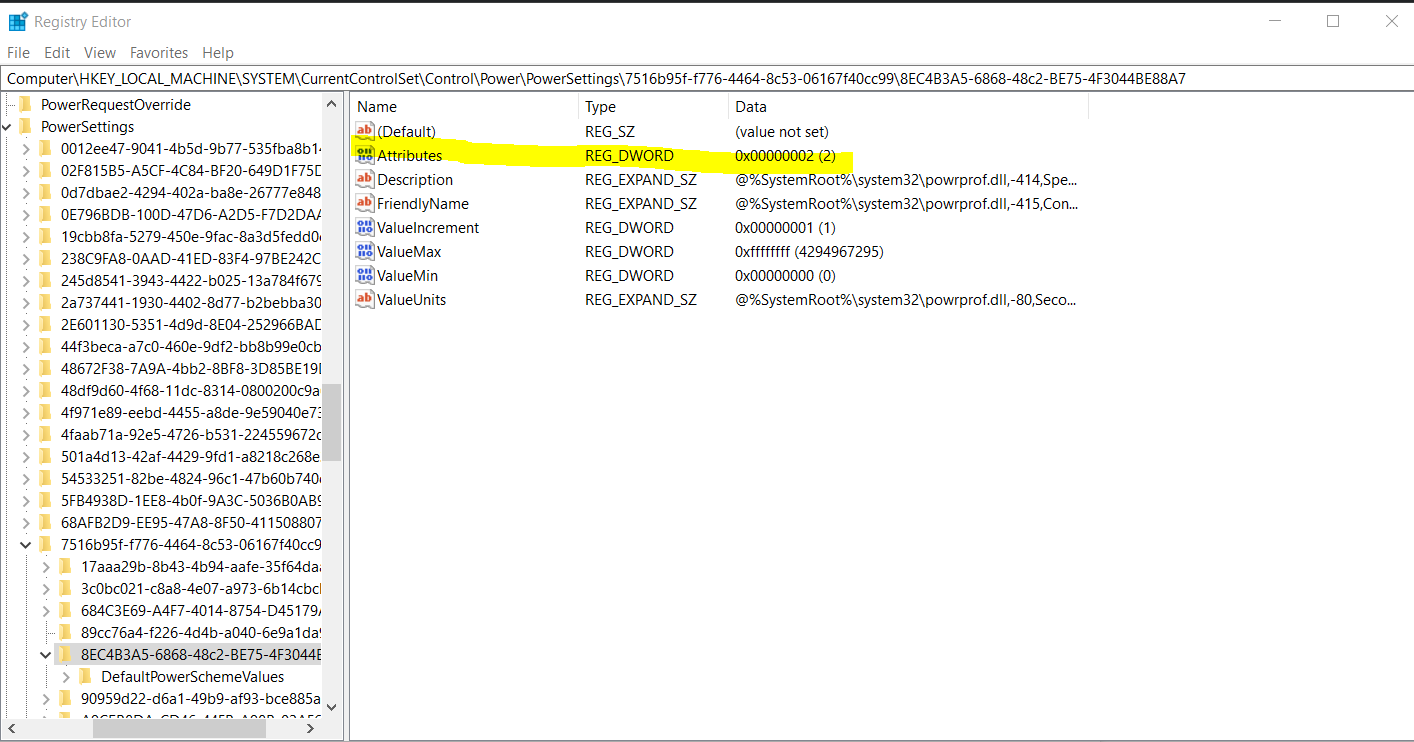
3. Double-click on the “Attributes” key seen in the right side of the window.
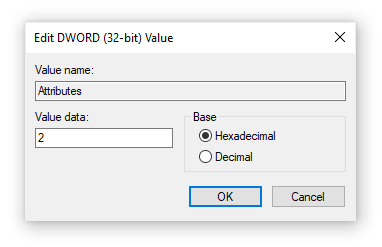
4. Change the value data to 2, then click the OK button
5. You should be able to see the lock screen timeout option when making changes to your Power Options
Use the Power Options to change the lock screen timeout
1. Right click on the power icon and choose Power Options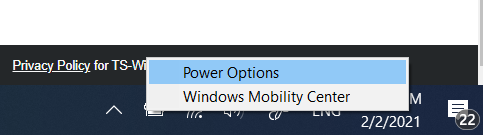
2. Click on the “Change plan settings” link next to whichever plan you’re using

3. Click on the “Change advanced power settings”

4. Scroll down until you see Display, then click on the plus icon to expand the section.
5. Change “Console lock display off timeout” to the number of minutes you want before your lock screen goes into a timeout

6. Click the Apply button, then close the window by clicking OK.