Change the DNS on your Windows 10
Change the DNS
Go to the Control Panel
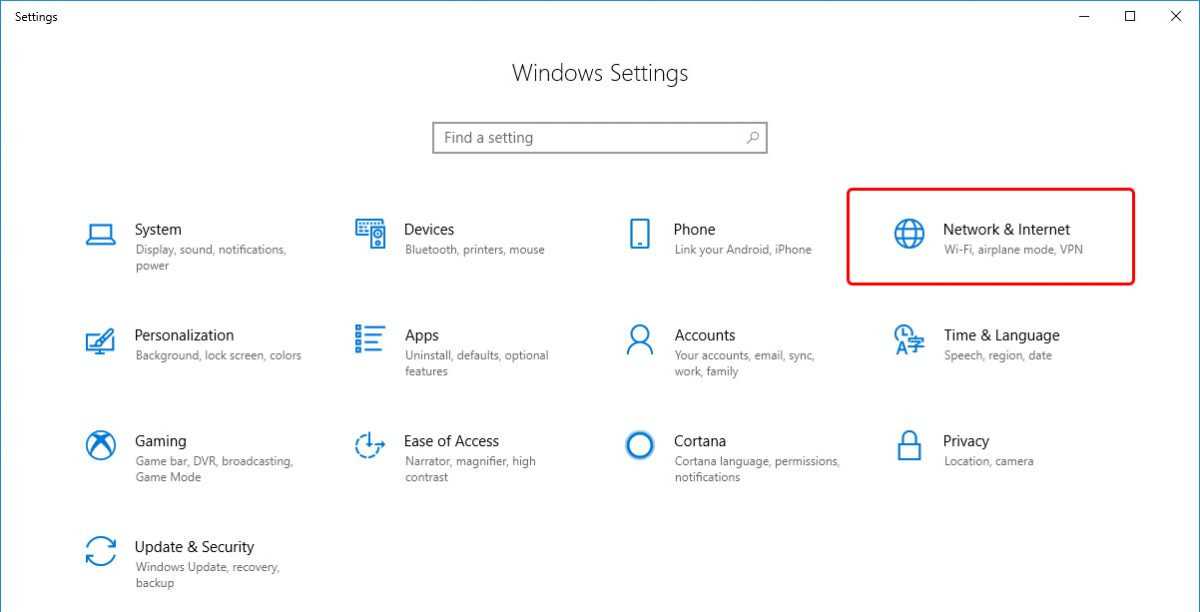
Click on Network and Internet
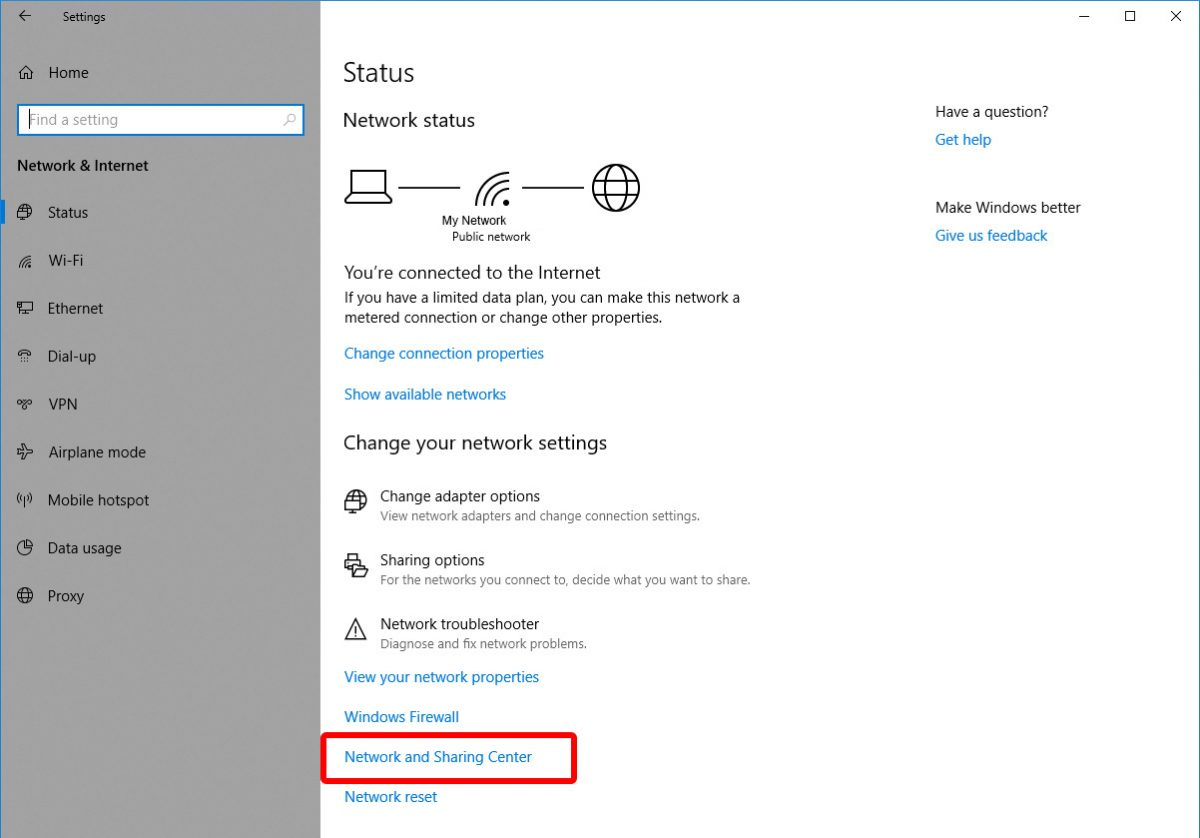
Click on Network and Sharing Center
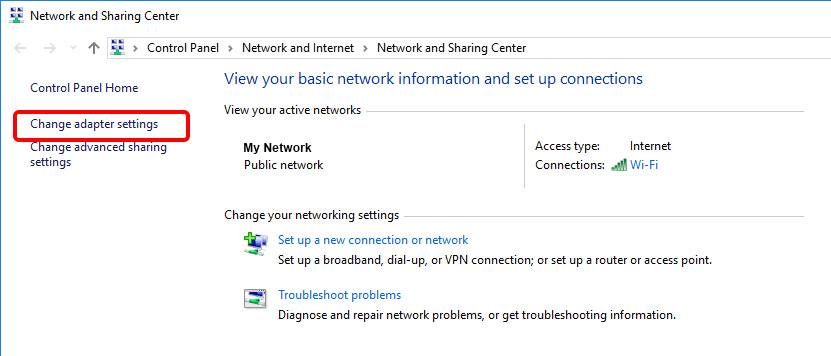
Go to Change Adapter Settings.
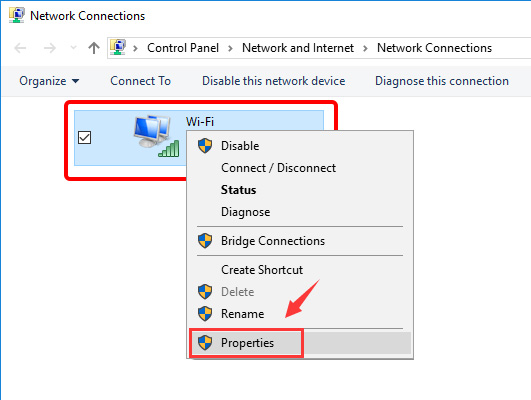
Select the network you’re currently connected to and right click on it. Select Properties.
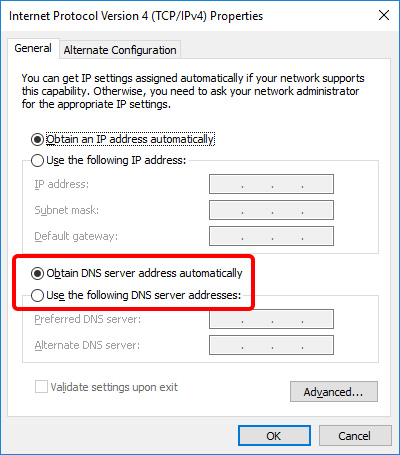
Click on IPv4 and select Properties.

If “Obtain DNS server address automatically” is selected, click the radio button next to “Use the following DNS server addresses:”
E.g The Google Public DNS IP addresses (IPv4) are as follows: 8.8.8.8; 8.8.4.4.
Click on Ok and Close.